Lichtenstein's Pop Art is different from others because of his style of Benday Dots. To create a digital painting with a similar style first find an image that you would like to work with. Place it on a bottom Layer in Photoshop with a transparent layer above it. I chose a small image of to French Bulldog pups that I took in the example.
On the second layer I have started tracing the major shapes using the paintbrush with a smooth edge and 6 pixels wide. Lichtenstein used nice thick lines in his paintings.
Continue until all of your major edges to the shape are outlined. Because my image is very small I am going to use a 4 pixel line for the details.
Once you have finished your line drawing you are ready for the dots!
Here is a seamless dot pattern you may use. You will have to adjust the colors with your paint bucket to fit your painting.
With the background hidden use the magic wand tool and select the shape to put the pattern in.
I poured the pattern in a different layer so that I could delete it if I change my mind.
One thing that Lichtenstein did was make some of his dots on white and some on the color. To do this you would invert your pattern. You also will need to make a new pattern for each color.
Create a sampler with shapes in colors, gradients and patterns.
Making a Seamless Pattern
Create a pattern that is seamless.
Go to Google Images and look for patterns.
In Pinterest Make a Board for any pattern that you think that you might want to use at any time in the future. Be sure you save one with dots.
When you are ready to make a pattern go to your image in Pinterest, save it to your desktop and open in Photoshop.
I want this pattern to look like Benday Dots.
I want my pattern to be seamless, in order to do this the bottom and top need to be the same, the sides also need to be the same and they are not.
Because this pattern is simple I can zoom in and cut the top and bottom as well as the sides so that they end and begin the same. Be sure to save when you are done so that you have the perfect image to work with.
Here is the same information in picture format.
If your image cannot be cropped so that all sides are equal, copying and rotation can make a seamless image to use.
Start by opening the image and choosing canvas size.
We are going to double the width of the canvas, I first looked at width, then clicked relative and typed the width in again. This will double the width. I then need to line it up on the right or left side so all the width is added to one side.
If you lined it up correctly it will look like this. If you do not see the transparent background, unlock the image by double clicking the lock in layers. If you do this before you add to the canvas you are ready. If not you will have to select the white with your magic wand and cut it away.
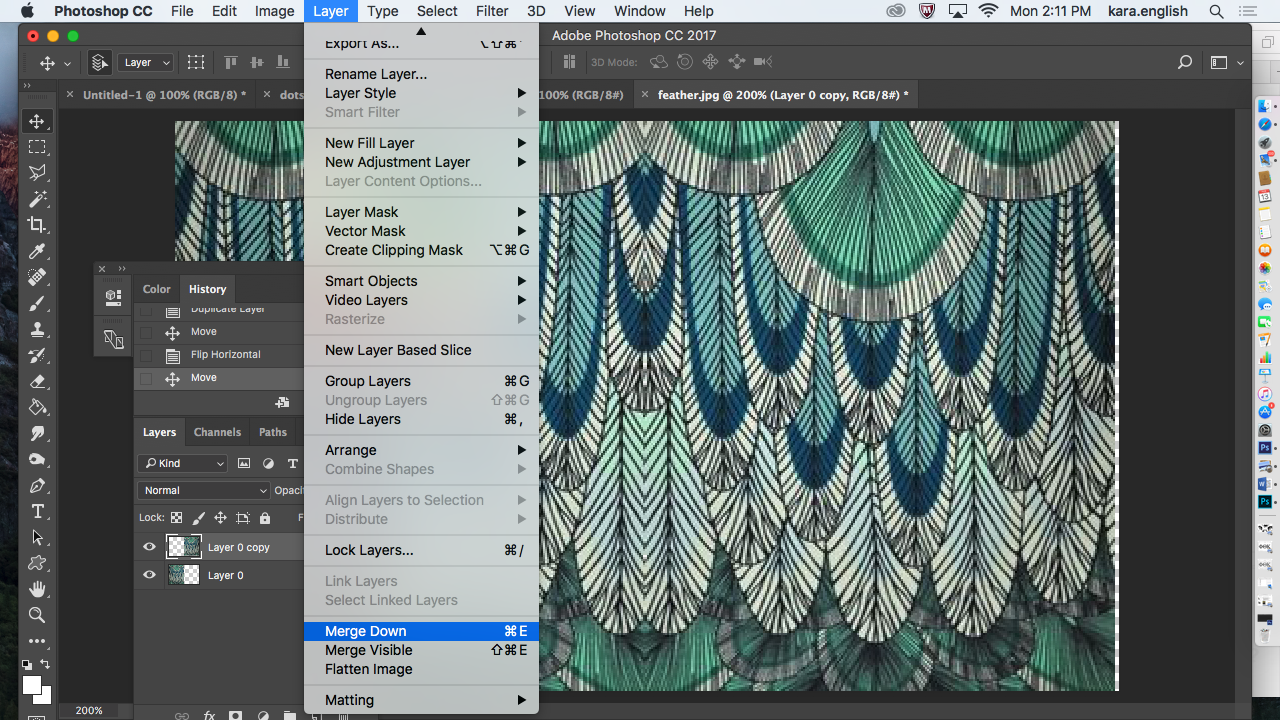
Duplicate the layer in the layers panel.
Go to edit and flip horizontal the new layer and line it up.
Go to layers and merge the two layers. Repeat canvas size to add to the vertical side.
This time I am adding to the height of the document the exact amount that is is to double it. I then can line it up to be added at either the top or bottom.
When your seamless pattern piece is made save. The under edit go to Create Pattern Preset.
If it is seamless, when you open a new larger document you can choose your paint bucket, and click pattern at at the top and pour in a large page of pattern. If it has funny squares showing up in the repetition, something went wrong and it is not quite seamless and you need to try again.
Open a Picture from the web of a well known popular person from popular culture.
First we will play with the image as a monochromatic image-
* Image Adjust Black & White
* Play with the colors until your foreground sets apart from your background by its value differences ( I have made the values in the background much lighter).
* Use Image adjust to darken the person lighten background more if possible.
* Using Smudge tool, paint brush or eraser, eliminate background around individual. Save, then Export – Save for Web and Upload to Blog.
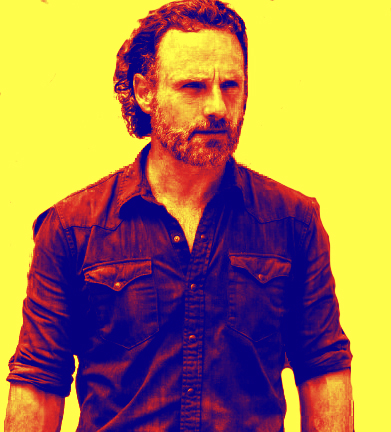
3. Using Gradient Map to change colors.
Using Image Adjust to Gradient Map –Use the tool in the top corner to choose different gradients. There are a variety of menus of Gradient Maps. This would be analogous Color scheme.
Adjusting the map is possible by going to edit and changing the amount and the type. This is the same image in normal 50%.
This is with linear light. As you see in is no longer analogous but Monochromatic.
Save and upload five different gradient map images to your blog and name each color scheme.
4. Posterizing image is a good way to make it have a Pop Art Look. Save this image.
5. Threshold will take this one step further to Back White Only. Save this as well
6. Color Balance will then allow you to take either image and adjust one color.
Save your image. Upload two to your blog.
7. Last Using Image Adjust Hue Saturation change this image 4 different ways and save for your blog.
Assignment Using Image/Images of your choice make a Pop Art Picture in the style of Andy Warhol.